
How to Make Smooth Mash That Spreads Over Cottage Pie
By Michael
Mash for a cottage pie has two jobs: it has to be smooth, and it has to spread — laid over a hot filling in spoonfuls without dragging the beef up through it. This guide works through the technique from the potato choice onwards, using the quantities from the tested recipe: 900g of floury potatoes, 50g of butter and about 75ml of warm milk.
Start with the right potatoes
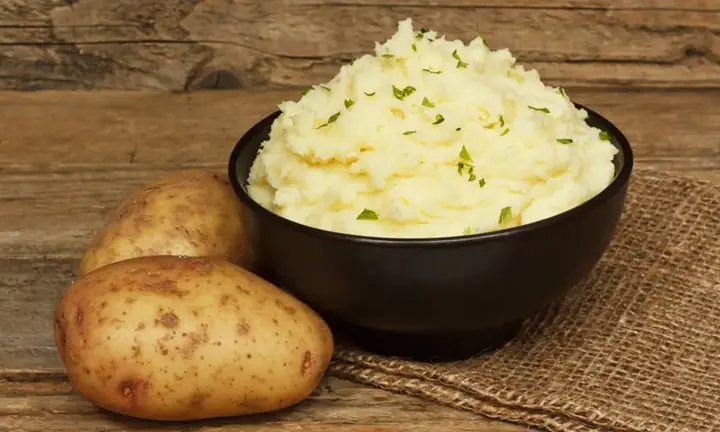
Smooth mash begins with the potato itself. Floury varieties — Maris Piper and King Edward are the two in our cottage pie recipe — break down as they cook, their flesh turning soft and dry, which is exactly what mashing needs. Waxy potatoes hold their shape and resist the masher, and no amount of work turns them properly smooth; they stay in firm little pieces or, worse, turn gluey when you push harder to compensate.
The recipe's 900g serves four, and the size of the potatoes matters less than how you cut them. Peel them, then cut into chunks of a similar size — roughly the size of a small egg — so they all finish cooking at the same moment. One big chunk still firm in the middle is enough to seed a whole pan of mash with lumps. Our guide to the best potatoes for cottage pie mash covers the varieties in more depth, including what to do with what you already have in the cupboard.
Even pieces, cold water, a gentle simmer
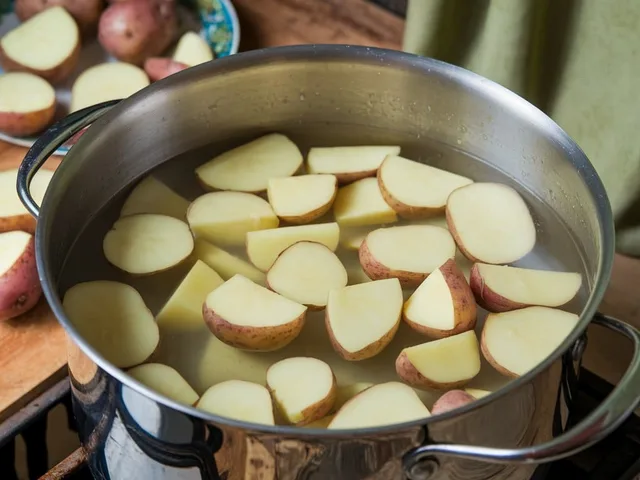
Put the cut potatoes into a pan of cold salted water and bring it up to the boil. Starting in cold water lets the pieces heat through gradually and evenly, so the outsides are not falling apart before the centres have softened. Dropped straight into boiling water, the surfaces cook and start to break down while the middles are still hard — and hard middles are lumps waiting to happen.
Once the water boils, turn it down to a steady simmer rather than a rolling boil. A violent boil bashes the pieces against each other and the pan, knocking the edges off into the water while the centres lag behind; the potatoes end up waterlogged on the outside and firm inside. A simmer keeps the pieces whole and cooks them evenly all the way through.
Cook until a knife slides in
The test for done is simple and it is worth doing properly. Slide the tip of a small knife into the largest piece you can find. It should go in with no resistance and the potato should feel soft all the way through; if you lift the piece on the knife, it should threaten to slide off under its own weight. A fork is less honest — it can force its way into a potato that is not truly done and tell you what you want to hear.
Undercooked centres are the number one cause of lumpy mash. A masher crushes soft potato easily, but a firm core just gets pushed around the pan, breaking into hard little nuggets that no amount of milk will soften afterwards. If in doubt, give the pan another couple of minutes: a floury potato forgives a little extra cooking far more readily than it forgives being drained too soon.
Drain thoroughly and steam dry
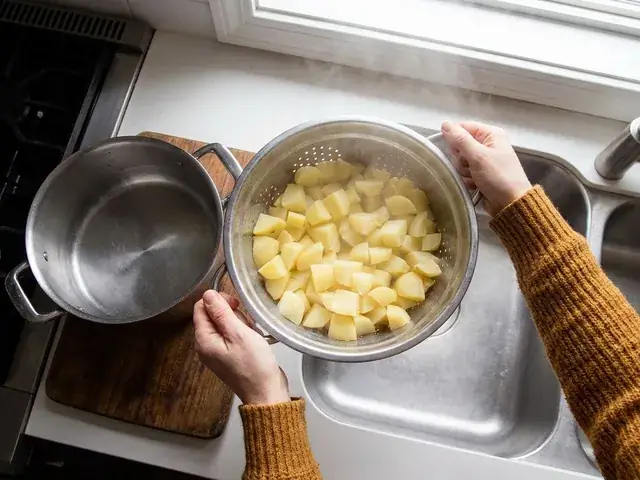
Drain the potatoes in a colander, then put them straight back into the hot, empty pan and leave them for a minute or two. You will see steam rising off them — that is surface water escaping, and every bit of it that leaves now is water that does not end up loosening your mash. Shake the pan gently once or twice so the pieces underneath get their turn.
This short pause is the difference between mash that spreads cleanly and mash that slumps. Potatoes that go straight from colander to masher carry their cooking water with them, and that water thins the mash from the inside no matter how carefully you measure the milk. Steam-dried potatoes, by contrast, are thirsty: they take up the butter and milk and turn rich and smooth instead of wet.
Mash hot: butter first, then warm milk
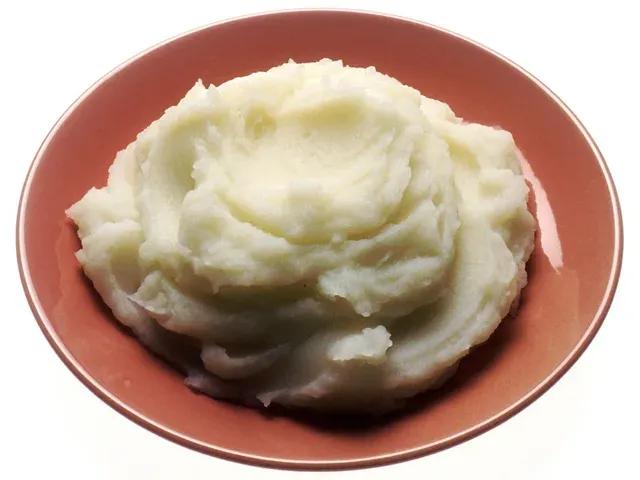
Mash while the potatoes are still steaming hot, straight away — cooling potato firms up and resists, and reheated mash never comes back quite as smooth. Work a masher down and across the pan until no lumps remain. Only then add the extras, and add them in the recipe's order: the 50g of butter first, stirred through until it melts in, then the warm milk.
Butter before milk is not fussiness. Butter coats the potato and gives the mash its richness, and it goes in more evenly while the mash is still undiluted. The milk — about 75ml, warmed first so it does not cool the mash down — goes in a splash at a time, stirred after each addition, stopping when the mash is soft, smooth and just holding soft peaks. Warm milk blends in without shocking the mash, and adding it gradually keeps you in control: you can always add another splash, but you cannot take one back.
Never the food processor
One firm rule: keep mash away from a food processor, and be wary of blenders and enthusiastic electric whisks too. Blades do not crush potato the way a masher does; they tear through it at speed and release far more starch, and that starch turns the whole batch gluey — elastic, shiny and unpleasant, with no way back. A potato ricer is the one gadget that genuinely helps, pressing the potato through in fine strands with no lumps at all, but a standard masher used patiently on properly cooked, steam-dried potatoes gets you to smooth without any risk.
The pattern is worth noticing: gluey mash is a processing fault, not an ingredient fault. The same potatoes, mashed by hand in the same pan, would have been fine. If it happens, do not try to rescue the batch by working it more — every extra second of beating makes it worse. Serve it as it is, or fold it into the pie anyway under a well-forked top; the filling carries it.
Spreading over the filling without dragging
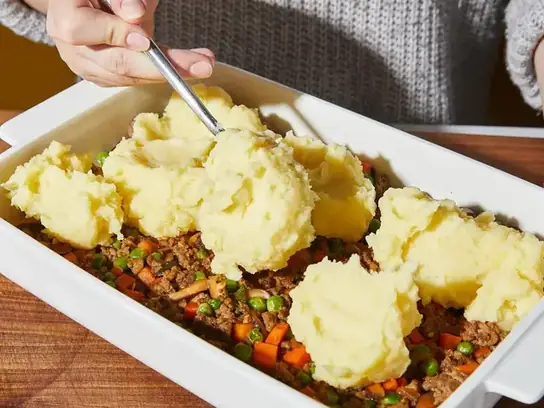
Smooth mash can still fail at the last step if it is handled roughly over the pie. Tip the whole batch onto the filling in one lump and push it around, and the masher or spoon drags beef filling up through the mash, leaving streaks and thin patches. Instead, lay the mash on in spoonfuls: start round the edges, sealing the mash against the dish first, then fill in the middle, joining the spoonfuls up with the back of the spoon.
Work while both parts are hot — warm mash spreads willingly over warm filling, while cold mash sits stiffly and tears. Spread gently, in one direction, pressing just enough to close the gaps. The layer wants to be even, so every part of the pie bakes at the same rate and no thin spot lets the filling bubble through and flood the top. Once it is covered, fork the surface into ridges if you want a golden, crisp finish. And if your mash has ever sunk or mixed into the filling instead of sitting on top of it, our guide on why the mash sinks into cottage pie explains what is happening underneath — usually a filling that is too wet or too hot and steamy when the mash goes on.
Mash faults, causes and fixes
| Fault | Likely cause | Fix |
|---|---|---|
| Lumpy | Centres undercooked, pieces uneven, or the potatoes cooled before mashing | Cut evenly, cook until a knife slides in, and mash straight away while hot |
| Gluey | Worked in a food processor, or beaten too hard for too long | Mash by hand or use a ricer; stop as soon as it is smooth |
| Watery | Potatoes not steam-dried, or all the milk added at once | Steam dry in the hot pan; add warm milk a splash at a time |
| Heavy and dense | Too little liquid, or mash packed down hard over the pie | Use the full butter and milk, and spread with a light hand |
Most of these faults are decided before the masher ever comes out — in the cutting, the cooking and the draining. Get those three right and the mashing itself takes a couple of unhurried minutes. Get them wrong and no technique at the mashing stage fully rescues the batch, which is why the order of this guide follows the order of the cooking rather than starting with the masher.
Questions people ask
Because the lumps are undercooked centres, and mashing cannot fix them — the masher just pushes firm pieces around the pan. Cut the potatoes into even pieces, cook them until a knife slides into the largest piece with no resistance, and mash immediately while they are hot. Time spent cooking is what removes lumps; time spent mashing is not.
No — the processor is the one tool that reliably ruins mash. Its blades release too much starch and turn the batch gluey and elastic, and the damage cannot be undone. For genuinely lump-free mash, use a potato ricer, or a hand masher on potatoes that have been cooked through and steam-dried; either gives you smooth without the glue.
The tested recipe uses about 75ml of warm milk for 900g of potatoes, after the 50g of butter. Add it a splash at a time and stop when the mash is soft and spreads easily but still holds a soft peak. Mash for a pie wants to be slightly firmer than mash served in a bowl, so it sits on the filling instead of slumping into it.
For the smoothest result, yes. Skins are the main source of flecks and stubborn little bits in an otherwise smooth mash, and they do not break down during mashing however long you work at it. Skin-on mash has its place, but on top of a cottage pie — where the mash has to spread in a thin, even layer — peeled potatoes behave far better.
Almost always because the potatoes carried their cooking water into the pan. Drain them thoroughly, then leave them in the hot, empty pan for a minute or two so the surface water steams away before you mash. The other cause is adding all the milk at once; warm milk a splash at a time lets you stop at the right consistency instead of overshooting it.
Warm filling and hot mash spread together most easily, and that is how the tested recipe assembles the pie. If the filling is steaming hard and very wet, the mash can slide and mix instead of sitting on top; let an over-steamy filling settle for a few minutes, and lay the mash on in spoonfuls from the edges inwards rather than in one dragged layer.