
Should Cottage Pie Filling Cool Before You Add the Mash?
By Michael
It is the moment every cottage pie cook pauses: the filling is bubbling on the hob, the mash is ready in its pan, and you wonder whether spooning hot potato over hot mince is asking for trouble. The honest answer is calmer than the worry suggests.
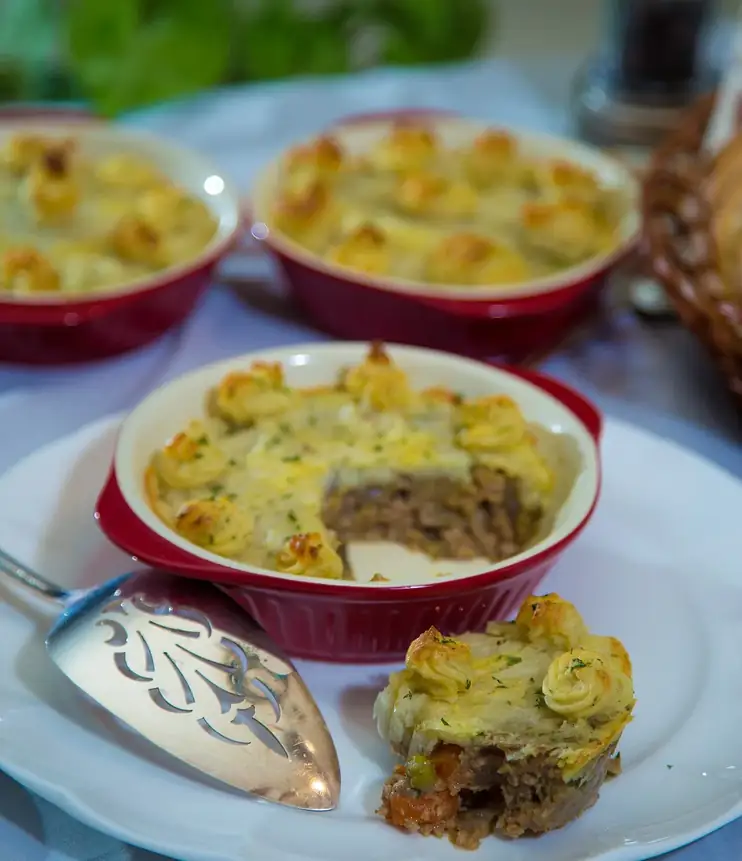
The tested route: warm filling, mash on top, straight into the oven
The recipe this site is built around keeps things simple. The beef filling is simmered until it is properly thick — the peas go in at the end — and while it finishes, the potatoes are boiled and mashed with butter and warm milk. The mash is spooned over the warm filling, forked into ridges, and the dish goes into an oven at 200°C (180°C fan, Gas Mark 6) for 25 to 30 minutes. It rests for 5 to 10 minutes and is served. No cooling stage, no waiting around, and the pie sets as it should.
That matters because a lot of the advice you will read elsewhere treats cooling as essential, as if hot filling ruins a pie. It does not. A warm, thick filling holds mash perfectly well. The mash sits on top because the filling underneath it is dense enough to carry it, not because the filling has gone cold and firm. Temperature is a minor detail here; thickness is the whole story.
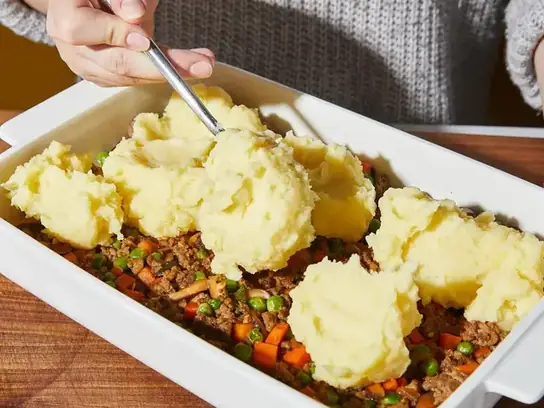
There is one small technique point when you assemble warm. Spoon the mash on in dollops, starting around the edges of the dish and working inwards, then join the dollops up gently with a fork. If you drop one large mound in the middle and drag it outwards, you can push filling up the sides and end up with gravy bursting through the top in the oven. Edges first, and the mash seals against the dish as you go.
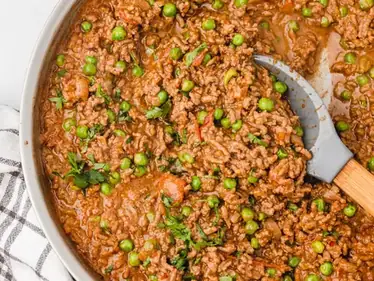
What actually goes wrong with a very hot, wet filling
There is a real problem hiding behind the cooling advice, and it is worth separating from the myth. If the filling has just come off a rolling simmer and its surface is steaming hard and glistening with loose liquid, the underside of the mash can turn soft and pasty. Steam rises into the potato, the top layer of mash absorbs it, and instead of a clean line between filling and topping you get a blurred, soggy band. The pie still tastes fine, but the texture suffers.
Notice what the problem is, though: liquid and steam, not heat itself. A filling that has simmered long enough for the gravy to coat the mince — where a spoon dragged across the pan leaves a brief trail before the filling settles back — can be topped straight away, hot or not. A filling that sloshes is not ready for mash at any temperature. If you cool a sloshy filling completely and then add mash, you have a cold sloshy filling, and it will still bubble up through the topping in the oven and still give you a soft layer underneath.
This is also where this post hands over to a different fault. If your mash sinks into the pie or the filling erupts through it, that is a separate set of causes — filling too thin, mash too soft, dish too small — and we have covered them in our guide to why the mash sinks into cottage pie. Cooling is not on that list, and it is not the cure for anything on it.
The middle option: rest the filling for 10 to 15 minutes
Between "straight off the hob" and "stone cold" there is a step that suits a lot of cooks, and it is the one to choose if your filling has finished a few minutes before your potatoes are ready, or the other way round. Take the filling off the heat, put its lid on or leave it off depending on how wet it looks, and let it stand for 10 to 15 minutes.
In that short rest, two useful things happen. The surface stops steaming so aggressively, so the mash stays drier underneath. And the top of the filling firms very slightly as it settles, which makes spreading easier — the mash glides rather than dragging mince with it. Nothing about the pie's structure depends on this rest; it is purely about making the assembly calmer and the layers cleaner. The bake is unaffected, because the filling is still thoroughly warm when the dish goes into the oven, so the tested 25 to 30 minutes stands.
The rest is also forgiving in the other direction. If the phone rings or the potatoes take longer than expected and your "short rest" becomes half an hour, nothing is harmed. The filling is still fine to top and bake; it just edges towards the cooled end of the scale, and you may want to give the pie a few extra minutes in the oven and judge it by the bubbling edges rather than the clock.
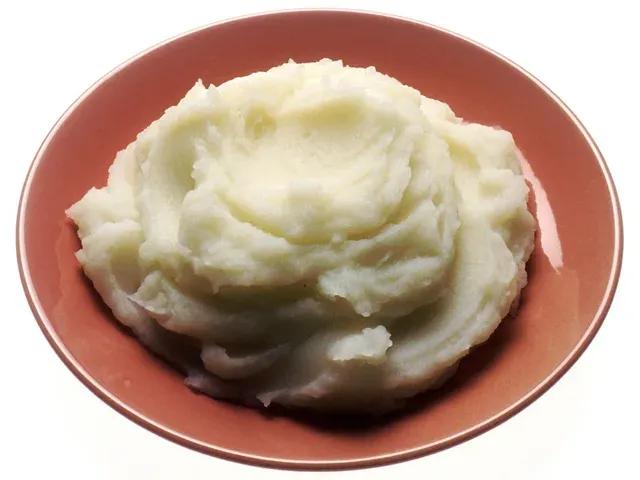
Fully cooled filling: what you gain and what it costs
Cooling the filling completely before adding the mash is a legitimate method, and plenty of good cooks prefer it — particularly when they are making the pie ahead. A cold filling is firm, so the mash spreads over it beautifully without any mixing at the border, and the finished pie often cuts into neater portions. If you are assembling the pie to bake later, cooling is not optional decoration; it is part of doing the job safely and well, and our guide to making cottage pie ahead walks through that route in full.
But be clear about the costs. First, time: a pie assembled cold starts the bake from fridge temperature or room temperature instead of from hot, so it needs longer in the oven to get the filling bubbling and the centre properly hot — allow roughly 40 to 50 minutes (estimate) for a standard pie assembled cold, and always confirm with the checks rather than the timer alone. Second, the safety clock starts the moment the cooked filling comes off the heat. Cooked food left to cool must be refrigerated within 1 to 2 hours, and the fridge should be between 0 and 5°C. A filling forgotten on the worktop all afternoon while it "cools properly" is not a better pie; it is a risk. Cool it in a shallow container so it loses heat quickly, get it into the fridge inside that window, and use leftovers within 2 days.
Third — and this is the cost nobody mentions — a fully cooled filling gives you no feedback. When you top a warm filling, you can see its consistency and correct it. When you top a cold one, any thinness is hidden until the oven reveals it. Cooling is a scheduling tool, not a quality trick.
Filling state, spreading and the bake: the three routes side by side
| Filling state | Spreading the mash | Effect on the bake | Best for |
|---|---|---|---|
| Hot, straight off the hob | Easy if the filling is thick; spoon mash round the edges first | Tested 25 to 30 minutes at 200°C (180°C fan, Gas Mark 6) | The tested recipe, cooked and served the same day |
| Rested 10 to 15 minutes | Easiest of all — surface settled, less steam under the mash | Unchanged; filling still warm through | Most cooks, most days; the forgiving middle route |
| Fully cooled or chilled | Very neat spreading over a firm surface; cleanest layers | Longer — about 40 to 50 minutes (estimate); judge by bubbling and a centre of at least 75°C | Making ahead, or a filling cooked earlier in the day |
Read the table and the pattern is obvious: as the filling gets colder, spreading gets marginally easier and the bake gets noticeably longer. There is no row in which the pie itself becomes better — only rows that suit different timetables. Choose by your schedule, not by superstition.
Cooling does not fix a thin filling
This point deserves its own section because it is the most common reason people reach for the cooling step. The filling looks runny, someone advises letting it cool and firm up before topping, and it half works — cold gravy is more viscous than hot gravy, so the pie assembles tidily and everyone feels reassured. Then it goes into the oven, the gravy returns to its true, thin consistency as it heats, and it bubbles up through the mash or pools around the portions on the plate. The cooling disguised the problem for exactly as long as it took to stop mattering.
If your filling is thin, fix the filling. Simmer it uncovered so it reduces. Stir through the flour or cornflour the recipe uses and give it a minute at a simmer to thicken. And if it is already made and still thin, our dedicated guide to how to thicken cottage pie filling covers the rescue options in order, including what to do once the mash is already on. A filling that coats the back of a spoon while hot will behave in the oven. A filling that only looks thick when cold will not.

So, should you cool it? A plain verdict
For the standard cottage pie, cooked and eaten the same day: no, do not bother cooling the filling. Give it a short rest if the timing falls that way, top it while it is warm, and bake it as tested. Your effort is better spent on the two things that genuinely decide the result — a filling simmered thick, and mash that is smooth but not sloppy.
For a pie you are making ahead: yes, cool the filling, but do it properly — shallow container, into the fridge within 1 to 2 hours, fridge between 0 and 5°C — and allow the longer bake (estimate) when it goes into the oven, checking that the centre reaches at least 75°C and the filling bubbles at the edges. Cooling, in other words, is about when you plan to eat, not about how the pie is built.
Questions people ask
Only if the filling is wet as well as hot. A thick filling that has just come off the hob is fine to top straight away. The soggy layer people blame on heat is really caused by loose liquid and steam rising from a filling that has not simmered down enough, so reduce the filling rather than cooling it.
Cooked filling should be cooled and refrigerated within 1 to 2 hours, in a fridge between 0 and 5°C. Spread it in a shallow container so it loses heat quickly rather than sitting warm in a deep pan. Once chilled, use it within 2 days.
A little, yes. A cold filling is firm, so the mash spreads without dragging mince with it and the layers stay very neat. But the gain is small, and you pay for it with a longer bake — about 40 to 50 minutes (estimate) instead of the tested 25 to 30 minutes for a warm assembly.
No. Cold gravy looks thicker than it is, but it returns to its true consistency in the oven and will bubble through the mash. Simmer the filling uncovered to reduce it, or thicken it properly, before the mash goes anywhere near it.
Not by leaving it standing around. A warm assembled pie must go into the oven promptly. If you want to bake later, cool the filling properly, refrigerate the assembled pie within 1 to 2 hours, and bake it from chilled with the longer time (estimate), checking the centre reaches at least 75°C.
Warm mash spreads much more easily than cold, stiff mash, which is one reason the tested recipe mashes the potatoes while the filling finishes and assembles everything warm. If your mash has gone cold and firm, loosen it with a splash of warm milk and a good stir rather than fighting it across the dish.