
How to Thicken Cottage Pie Filling Without Lumps
By Michael
Your cottage pie filling is made, it tastes right, but it is thinner than gravy should be and you know it will soak into the mash in the oven. The good news is that a thin filling is one of the easiest problems in the whole dish to fix — as long as you fix it in the pan, before the mash goes on.
First, know what "thick enough" looks like
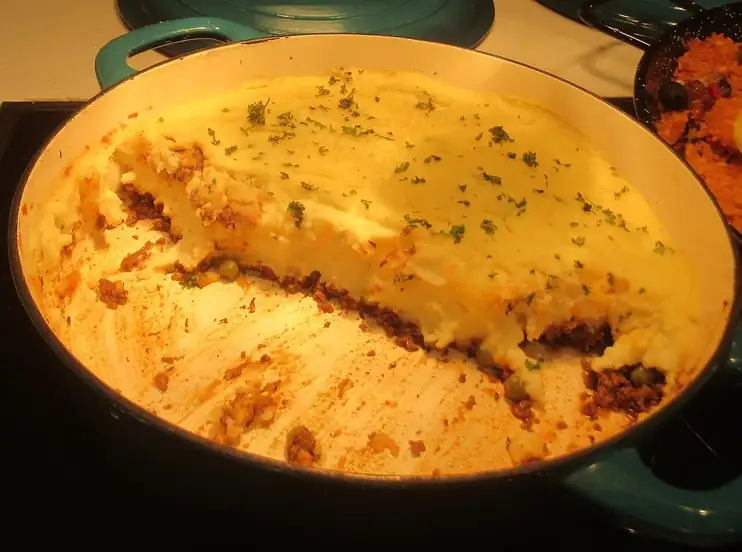
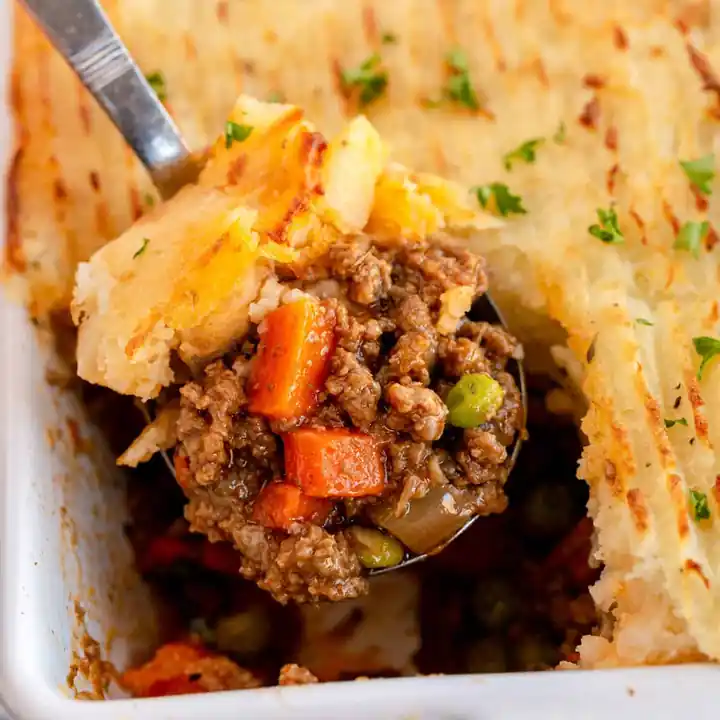
Before you reach for anything, it helps to know the target. Cottage pie filling should not be stiff, and it should not be soup. It sits between the two: a rich gravy that holds the mince, carrots and peas together and stays put on the spoon.
There are two simple checks. Lift a spoonful out of the pan and look at the back of the spoon — a properly thickened gravy coats it in an even layer instead of running straight off like water. Then drag the spoon across the base of the pan: the filling should part and leave a brief trail that closes up slowly, over a second or two, rather than flooding back instantly. If the trail vanishes the moment you make it, the filling needs work. If the filling stands in peaks and the spoon trail stays open, it has gone too far and a splash of hot stock or water will loosen it again.
Remember that the filling thickens a little more as it rests and cools, and the mash will absorb a small amount of liquid in the oven. Aim for a filling that looks just slightly looser than you want the finished pie to be, and you will land in the right place.
Method one: reduce it by simmering
The simplest way to thicken any filling is to take water out of it. Take the lid off the pan, keep the filling at a gentle simmer, and let the steam carry the excess liquid away. The gravy concentrates as it reduces, so the flavour deepens at the same time — this is the one method that makes the filling taste better as well as thicker.
Stir every few minutes so nothing catches on the base, and keep the heat moderate. A violent boil can break the mince down and make the gravy greasy, while a bare simmer reduces steadily and stays in control. Ten minutes of uncovered simmering makes a clear difference; twenty minutes will take a noticeably thin filling a long way. Taste as you go, because reducing concentrates salt as well as everything else — if the filling was seasoned early, it may need nothing more at the end.
Reduction is the right first move when the filling is only a little too thin, when you have time, and when the flavour could do with concentrating anyway. It is less useful when the filling is very watery and dinner is already late, because it works gradually. If you need to know why a filling ends up thin in the first place, that is covered in our guide to why cottage pie goes watery — this page is about the fix.
Method two: the flour route, built in from the start
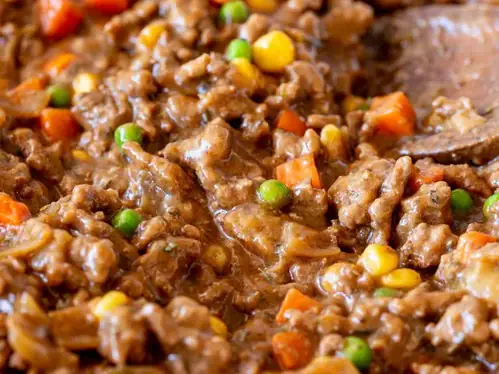
The most reliable thickening is the one that never has to rescue anything. In our tested recipe, 1 tablespoon of plain flour is stirred into the browned mince and vegetables before any stock is added. The flour coats the mince, cooks briefly in the fat in the pan, and then thickens the stock evenly as it comes to a simmer — no lumps, because the flour particles are separated by the fat before they meet the liquid.
Two details matter. First, give the flour a minute or so of cooking in the pan before the stock goes in; flour that has not cooked out can leave a raw, pasty taste. You are not looking for colour, just a brief cook until the floury smell has gone. Second, add the hot stock gradually, stirring as you pour, so the gravy forms smoothly instead of in one rush.
This is the method to use whenever you are making the filling fresh, and it is worth building into any version of the dish you cook regularly. It gives a traditional, opaque gravy with a soft body — the classic cottage pie texture.
Method three: a cornflour slurry, for a filling that is already made
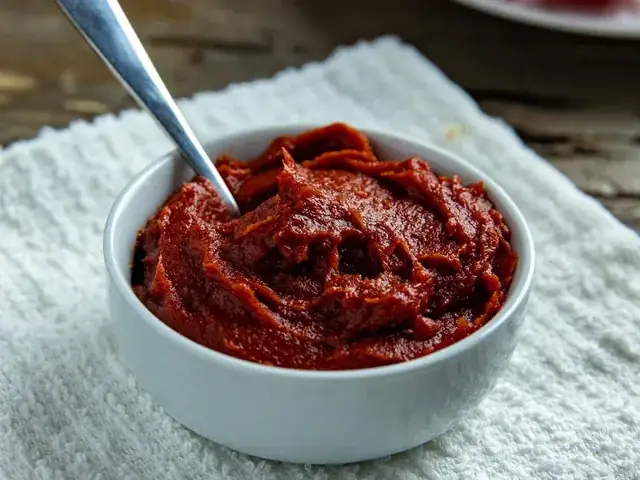
When the filling is finished and still too thin — perhaps it was made ahead, or the flour was forgotten, or the vegetables gave out more liquid than expected — a cornflour slurry is the quickest rescue. Cornflour thickens fast, works at the end of cooking, and keeps the gravy clear and glossy rather than cloudy.
Mix 1 tablespoon of cornflour with 2 tablespoons of cold water in a small cup and stir it to a smooth, thin cream. The water must be cold: cornflour stirred straight into hot liquid, or mixed with hot water, seizes into lumps on contact. Bring the filling to a simmer, stir the slurry once more, then drizzle it in slowly while stirring the pan. Simmer for 1 to 2 minutes — cornflour needs that brief boil to cook out and reach its full thickening power — then stop and judge.
If the filling is still thinner than you want, repeat with a smaller amount rather than doubling up in one go. Cornflour keeps thickening for a minute after you add it, and it is easy to overshoot into a gluey sauce that no amount of stirring will charm you into liking. A teaspoon at a time at the end gives you control. One caution for make-ahead cooks: cornflour-thickened gravies can thin slightly after freezing and reheating, so a flour-thickened filling is the steadier choice for a pie destined for the freezer.
The methods compared
| Method | When to use it | How | Effect on the gravy |
|---|---|---|---|
| Reduce by simmering | Filling slightly thin; time available | Simmer uncovered, stirring now and then, until it coats the back of a spoon | Thicker and more concentrated in flavour; nothing added |
| Plain flour, stirred in early | Making the filling from scratch | 1 tbsp flour stirred into the browned mince, cooked 1 minute, then hot stock added gradually | Traditional opaque gravy with a soft, even body |
| Cornflour slurry | Filling already made and too thin | 1 tbsp cornflour mixed with 2 tbsp cold water; stir in at a simmer for 1 to 2 minutes; repeat in small amounts | Clear, glossy gravy; thickens fast, easy to overshoot |
How to rescue lumps
Lumps happen when dry flour meets hot liquid in one place — usually flour tipped straight into the pan, or a slurry made with warm water. Do not panic, and do not serve around them. There are three ways out, in order of effort.
First, whisk. Take the pan off the heat and whisk the gravy briskly for half a minute, working the whisk into the corners of the pan. Small, soft lumps often break down completely with nothing more than this, because they are mostly surface — a skin of flour around a pocket of liquid.
Second, sieve. If whisking leaves stubborn lumps, pour the gravy — or the whole filling, if you are patient — through a sieve into a clean pan, pressing the lumps against the mesh with the back of a spoon so the liquid passes through and the lumps stay behind. Return any mince and vegetables to the pan. It feels like a faff, but it guarantees a smooth result in a couple of minutes.
Third, blend a spoonful. Ladle out a mugful of the hot filling, blend it smooth, and stir it back in. This works well when the lumps are scattered rather than numerous, and the blended portion disappears into the rest. Whichever rescue you use, bring the filling back to a gentle simmer afterwards and check the seasoning, and if the rescue cost you some thickness, finish with a small cornflour slurry made properly this time.
Why the fix has to happen in the pan
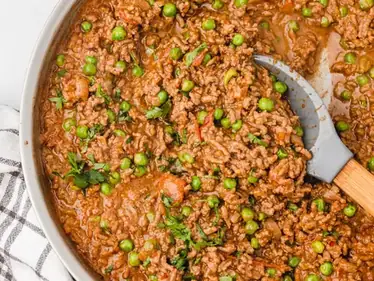
Every method on this page happens before the mash goes on, and that is not pedantry — it is the only chance you get. Once the filling is in the dish and covered with mash, there is no way to stir it, reduce it, or whisk a lump out of it. A thin filling discovered at the table has already done its damage: the mash sinks into it, the top never crisps properly, and the slices slump instead of standing.
So build a pause into your cooking. Before you reach for the potatoes, spoon the filling up, look at the spoon, drag it across the pan. Those ten seconds tell you whether the pie needs five more minutes of simmering or a slurry, while fixing it is still easy. It is the single habit that separates a cottage pie that slices cleanly from one that has to be spooned out like stew.
A note on testing
The flour route described here is part of our cottage pie recipe, which is the one recipe on this site that has been cooked exactly as written and kitchen-tested. The reduction and cornflour methods are standard cooking guidance rather than separately tested variations, and any timings given for them are estimates based on ordinary hob cooking — your pan, your hob and your filling will vary a little, which is why the spoon checks matter more than the clock.
Questions people ask
Not dry, straight from the bag — that is exactly how lumps form, because the outside of each flour clump cooks instantly and seals the dry centre. If you want to use flour on a finished filling, work 1 tablespoon of flour into a knob of soft butter to make a paste and whisk it in a little at a time at a simmer, or use a cornflour slurry instead, which is simpler and more predictable at that stage.
Start with 1 tablespoon of cornflour mixed with 2 tablespoons of cold water for a standard four-portion filling, simmer for 1 to 2 minutes, and then judge. Add a second, smaller slurry only if it is still too thin. Cornflour is stronger than it looks and continues to thicken briefly after it is added, so small additions keep you in control.
The usual cause is warm or hot water in the slurry — cornflour begins to swell on contact with heat, so the mix must be made with cold water and stirred smooth just before it goes in. Pouring it in one spot without stirring the pan can also set small lumps. Whisking the pan as you drizzle the slurry in slowly prevents both problems.
No. Thickening changes the texture of the gravy, not the cooking the pie needs. Bake as normal at 200°C (180°C fan, Gas Mark 6) for 25 to 30 minutes until the top is golden and the filling is bubbling at the edges, then rest for 5 to 10 minutes before serving.
No — there is no way to stir, reduce or whisk a filling once it is sealed under mash. If the pie is already assembled and unbaked, the honest options are to lift the mash off, return the filling to the pan and fix it properly, or bake it as it is and serve it in bowls rather than slices. Prevention is much easier: always check the filling in the pan before the mash goes on.
They suit different moments. Plain flour, cooked into the mince before the stock, gives the classic soft, opaque gravy and holds up well to freezing, so it is the better default when you are making the filling. Cornflour is the better rescue tool for a filling that is already made, because it works at the end of cooking and keeps the gravy glossy — just add it gradually so the sauce does not turn gluey.